top of page
WORK IN PROGRESS
PROJECT 2 : EXTERIOR AND INTERIOR RENDERINGS
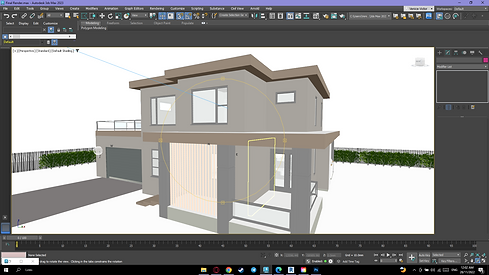
Exterior Rendering Progress :
Step 1 : Revit - Adding Exterior Lightings
Step 2 : Revit - Adding Outdoor Landscape

.png)
Step 3 : 3Ds Max - Positioning Sun
Step 4 : 3Ds Max - Inserting Camera


Step 5 : 3Ds Max - Assigning Materials
Step 6 : 3Ds Max - Render Exterior View

Step 7 : Photoshop - Importing Render Image
Step 8 : Photoshop - Removing Background


Step 9 : Photoshop - Adding Trees and Plants


Step 10 : Photoshop - Adding Sky
Step 11 : Photoshop - Adding Sunlight


Step 12 : Photoshop - Adding Human Figures
Step 13 : Photoshop - Adding Shadows

.png)
Interior Rendering Progress :
Step 1 : Revit - Adding Interior Lightings
Step 2 : Revit - Inserting and Adjusting Camera View

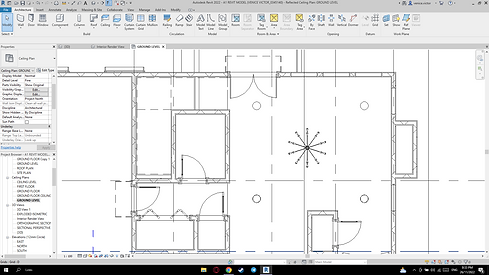
Step 3 : Revit - Placing Furniture
.png)

Step 4 : 3Ds Max - Adjusting Lighting Settings
Step 5 : 3Ds Max - Assigning Materials


Step 6 : 3Ds Max - Adjusting Rendering Settings
Step 7 : 3Ds Max - Rendering Interior View


Step 8 : Photoshop - Adding Sky
Step 9 : Photoshop - Adding Trees


Step 10 : Phototshop - Adding Human Figures
Step 11 : Phototshop - Enhancing Ligthing Effects


Step 12 : Adding Fireplace

bottom of page